Το OBS Studio είναι ένα λογισμικό ανοιχτού κώδικα που επιτρέπει στους χρήστες να κάνουν ροή στα παιχνίδια ή τις οθόνες τους επαγγελματικά. Διαθέτει πλατφόρμες τόσο για λειτουργικό σύστημα macOS όσο και για Windows. Το OBS χρησιμοποιείται συνήθως από παίκτες υψηλών προδιαγραφών που προτιμούν περισσότερο έλεγχο στην κοινή χρήση οθόνης σε σύγκριση με το συμβατικό λογισμικό εγγραφής οθόνης.
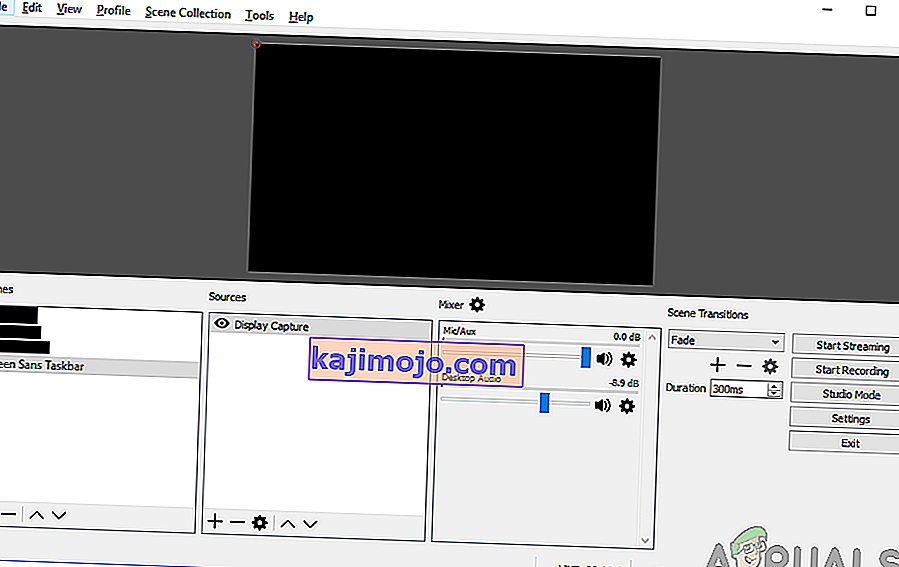
Ένα πρόβλημα μαστίζει το OBS εδώ και αρκετό καιρό όπου οι χρήστες βιώνουν μια «μαύρη οθόνη» όταν προσπαθούν να μοιραστούν τις οθόνες τους στο διαδίκτυο. Αυτό το ζήτημα εμφανίζεται ως επί το πλείστον σε πλατφόρμες και συστήματα Windows όπου υπάρχουν δύο επιλογές γραφικών, δηλαδή αφιερωμένες και ενσωματωμένες και οι δύο. Σε αυτό το άρθρο, θα εξετάσουμε όλες τις λύσεις για το γιατί συμβαίνει αυτό το ζήτημα και ποια είναι τα βήματα για την επίλυσή του.
Τι προκαλεί μια μαύρη οθόνη στο OBS Studio;
Πραγματοποιήσαμε μια εκτενή έρευνα και αναλύσαμε όλες τις περιπτώσεις χρηστών όπου εμφανίστηκε η μαύρη οθόνη κατά τη ροή χρησιμοποιώντας το OBS. Με βάση την ανάλυσή μας, συναντήσαμε αρκετούς διαφορετικούς ενόχους που ενδέχεται να προκαλούν το ζήτημα. Μερικά από αυτά αναφέρονται εδώ:
- Αφιερωμένη παρέμβαση γραφικών: Κάθε φορά που ξεκινάτε οποιαδήποτε εφαρμογή ή παιχνίδι, το λειτουργικό σύστημα πρέπει να αποφασίσει εάν θα διαθέσει πόρους από την ειδική κάρτα γραφικών ή μέσω των κανονικών ενσωματωμένων γραφικών της μητρικής πλακέτας. Αυτή η επιλογή μπορεί να έχει δυσμενείς επιπτώσεις από την άποψη της μηχανικής λειτουργίας και το OBS ενδέχεται να μην είναι σε θέση να πραγματοποιήσει σωστή ροή.
- Προνόμια διαχειριστή: Δεδομένου ότι το OBS μοιράζεται ολόκληρη την οθόνη σας, ενδέχεται να υπάρχουν ορισμένες περιπτώσεις όπου ο υπολογιστής ενδέχεται να περιορίσει την πρόσβασή του και ως εκ τούτου ενδέχεται να μην είναι σε θέση να εμφανίσει το περιεχόμενό σας. Συνήθως απλά η εκκίνηση της εφαρμογής με πρόσβαση διαχειριστή επιλύει το πρόβλημα αμέσως.
- Σύγκρουση σε εφαρμογή 32 και 64-bit: Το OBS έχει δύο εκδόσεις των εφαρμογών του, δηλαδή 32 και 64 bit. Η σωστή έκδοση θα πρέπει να επιλεγεί ανάλογα με τον τύπο του λειτουργικού συστήματος που είναι εγκατεστημένο στον υπολογιστή σας. Εάν δεν είναι, η εφαρμογή δεν θα είναι συμβατή και δεν θα λειτουργεί σωστά.
- Ζητήματα συμβατότητας: Αντιμετωπίσαμε επίσης πολλές περιπτώσεις όπου το OBS δεν ήταν συμβατό με την τελευταία έκδοση των Windows. Εδώ η εκκίνηση της εφαρμογής σε λειτουργία συμβατότητας αναγκάζει την εφαρμογή να ξεκινήσει και να λειτουργεί όπως αναμένεται.
- Overclocking: Το overclocking μπορεί να ενισχύσει την απόδοση του υπολογιστή σας, αλλά έχει επίσης αρνητικές επιπτώσεις στις εφαρμογές. Μπορείτε να προσπαθήσετε να απενεργοποιήσετε το overclocking και να δείτε αν αυτό κάνει καλό στο πρόβλημα.
- Λογισμικό σε διένεξη: Ίσως να υπάρχει και άλλο παρόμοιο λογισμικό λήψης που εκτελείται στο παρασκήνιο. Αυτό το λογισμικό ενδέχεται να έρχεται σε διένεξη με το OBS και να προκαλέσει αγώνα για πόρους που σίγουρα θα προκαλέσουν δυσλειτουργία στο OBS και δεν θα λειτουργούν σωστά.
- Επιλογές λήψης : Υπάρχουν πολλές διαθέσιμες επιλογές λήψης στο OBS, για παράδειγμα, πλήρης οθόνη ή ένα συγκεκριμένο παράθυρο κ.λπ. Η σωστή επιλογή πρέπει να επιλέγεται κατά τη λήψη περιεχομένου.
- Υπολογιστής σε κατάσταση σφάλματος: Δεν μπορεί ποτέ να διαγραφεί η πιθανότητα του υπολογιστή σε κατάσταση σφάλματος. Αυτό συμβαίνει συνήθως όταν δεν έχετε κλείσει τον υπολογιστή σας για μεγάλο χρονικό διάστημα. Η απλή εναλλαγή ισχύος διορθώνει το πρόβλημα.
Βεβαιωθείτε ότι ακολουθείτε τις λύσεις από την κορυφή και εργάζεστε αποτελεσματικά. Τακτοποιούνται από άποψη δυσκολίας και αποτελεσματικότητας. Καλή αντιμετώπιση προβλημάτων!
Λύση 1: Ενεργοποίηση του υπολογιστή σας
Πριν ξεκινήσουμε την εκτεταμένη αντιμετώπιση προβλημάτων, αξίζει τον κόπο να ενεργοποιήσετε τον υπολογιστή σας. Υπήρξαν αρκετές περιπτώσεις όπου απλώς το κύκλωμα ισχύος έλυσε αμέσως τη μαύρη οθόνη OBS. Ο κύκλος ισχύος περιλαμβάνει τον πλήρη τερματισμό του υπολογιστή σας και την αφαίρεση της πηγής τροφοδοσίας του. Αυτό αναγκάζει τον υπολογιστή να καταργήσει όλες τις προσωρινές διαμορφώσεις, οπότε όποτε το ξεκινάτε ξανά, όλα θα αρχικοποιηθούν φρέσκα.
- Τερματίστε τη λειτουργία του υπολογιστή σας σωστά.
- Μόλις σβήσει, αφαιρέστε την πρίζα ή εάν χρησιμοποιείτε το φορητό υπολογιστή, αφαιρέστε την μπαταρία .
- Τώρα πατήστε και κρατήστε πατημένο το κουμπί λειτουργίας για μερικά δευτερόλεπτα. Αυτό θα διασφαλίσει ότι έχει εξαντληθεί όλη η ισχύς.
Αφού περιμένετε 2-4 λεπτά, συνδέστε ξανά τα πάντα και ελέγξτε αν το πρόβλημα επιλύθηκε.
Λύση 2: Επιλογή της σωστής έκδοσης του OBS Studio
Το OBS έρχεται συνήθως σε δύο εκδόσεις, δηλαδή 32 και 64 bit. Το λογισμικό αποστέλλεται σε δύο εκδόσεις επειδή το λειτουργικό σύστημα των Windows αποστέλλεται επίσης σε δύο εκδόσεις. Μια μεγάλη διαφορά μεταξύ 32-bit επεξεργαστών και 64-bit επεξεργαστών είναι ο αριθμός των υπολογισμών ανά δευτερόλεπτο που μπορούν να εκτελέσουν, γεγονός που επηρεάζει την ταχύτητα με την οποία μπορούν να ολοκληρώσουν τις εργασίες. Σε αυτήν τη λύση, θα μεταβούμε στον κατάλογο εγκατάστασης του OBS και θα επιλέξουμε τη σωστή έκδοση του λογισμικού αφού ελέγξουμε την έκδοση bit σας.
Αρχικά, θα ελέγξουμε την έκδοση του λειτουργικού συστήματος που είναι εγκατεστημένο στον υπολογιστή σας.
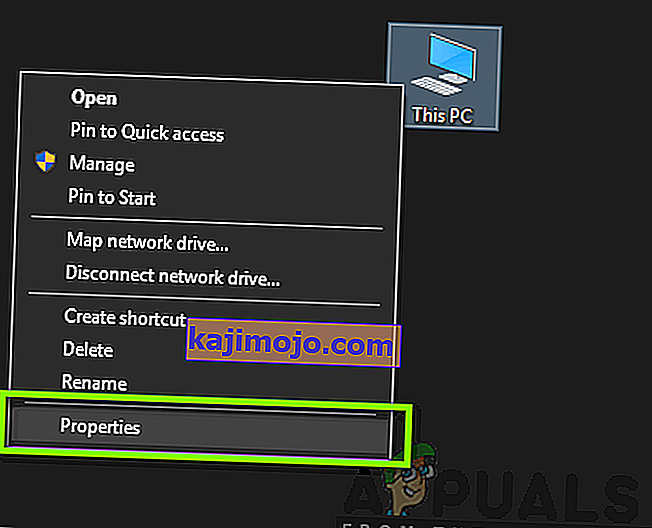
- Κάντε δεξί κλικ σε αυτόν τον υπολογιστή και επιλέξτε Ιδιότητες .
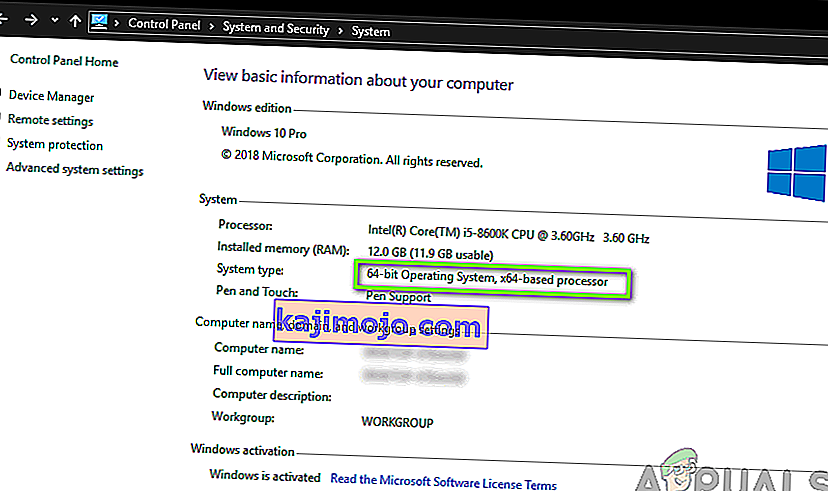
- Μόλις φτάσετε στις ιδιότητες του υπολογιστή, ελέγξτε κάτω από τη διάκριση του συστήματος και ελέγξτε τον τύπο μπροστά από τον τύπο συστήματος . Σημειώστε τον τύπο του λειτουργικού συστήματος και συνεχίστε με τις παρακάτω οδηγίες.
Τώρα θα μεταβούμε στο φάκελο εγκατάστασης του OBS και θα ξεκινήσουμε τη σωστή έκδοση της εφαρμογής σύμφωνα με την αρχιτεκτονική bit στον υπολογιστή σας.
- Πατήστε Windows + E για να ξεκινήσετε την εξερεύνηση αρχείων. Τώρα αναζητήστε το OBS στο πλαίσιο διαλόγου και ανοίξτε τη θέση του αρχείου όπως φαίνεται παρακάτω στην εικόνα.
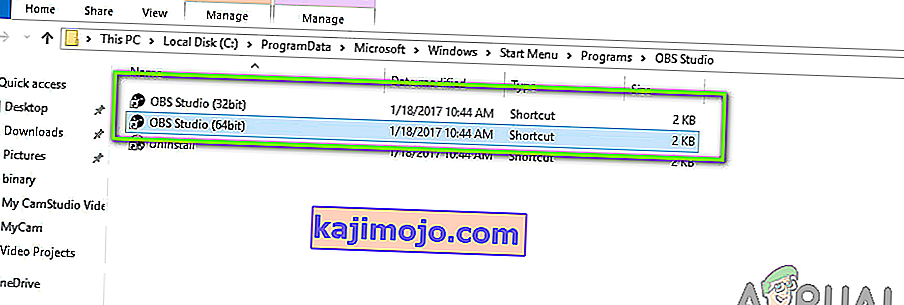
- Τώρα επιλέξτε και ανοίξτε τη σωστή έκδοση της εφαρμογής ανάλογα με την έκδοση bit του λειτουργικού σας συστήματος. Ελέγξτε εάν το πρόβλημα έχει επιλυθεί.
Λύση 3: Αλλαγή λειτουργίας συμβατότητας
Λάβαμε μικτές αναφορές για την επιλογή λειτουργίας συμβατότητας που υπάρχει στην εφαρμογή. Σύμφωνα με ορισμένους χρήστες, η τελευταία έκδοση των Windows δεν υποστηρίχθηκε από την εφαρμογή, επομένως έπρεπε να αλλάξουν τη συμβατότητα με τα Windows 7, ενώ ορισμένοι χρήστες ανέφεραν ότι η απενεργοποίηση της λειτουργίας συμβατότητας έλυσε το πρόβλημα αμέσως. Εδώ μπορείτε να δοκιμάσετε και τις δύο μεθόδους και να ελέγξετε ποια λειτουργεί για εσάς. Εάν όχι, επαναφέρετε τη ρύθμιση στην προεπιλογή και προχωρήστε με τις άλλες λύσεις.
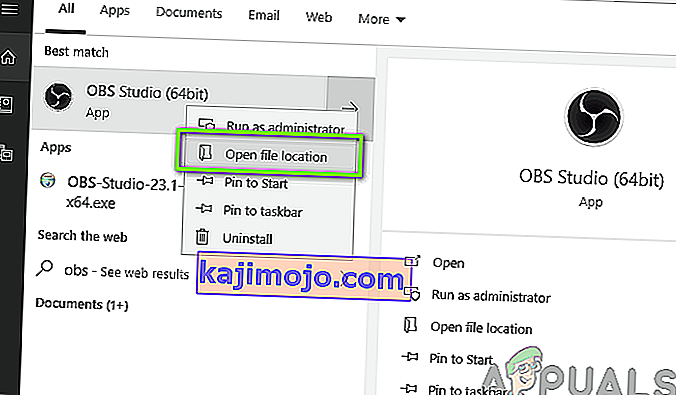
- Πατήστε Windows + S, αναζητήστε OBS, κάντε δεξί κλικ στην εφαρμογή και επιλέξτε Άνοιγμα τοποθεσίας αρχείου .
- Τώρα κάντε δεξί κλικ στο εκτελέσιμο και επιλέξτε Ιδιότητες .

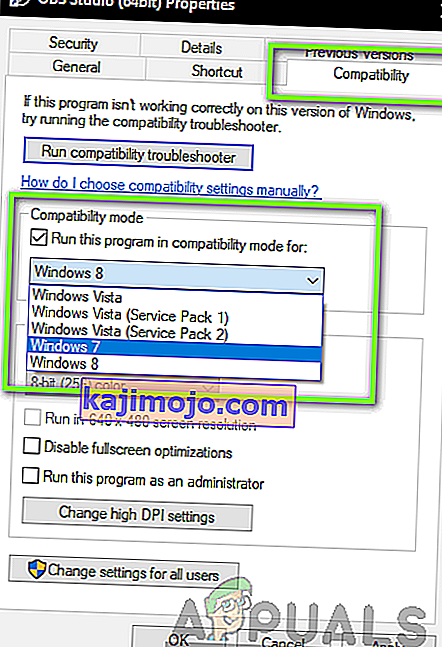
- Once in properties, select the Compatibility tab and check the option Run this program in compatibility mode for. Now you may choose Windows 7 or 8.
- Save changes and exit. Now try launching the application and see if the issue is resolved.
Solution 4: Granting Administrator Rights
Another issue for why you might not be able to stream your screen or game properly is because your application doesn’t have proper administrator privileges. Since OBS is in effect sharing all your content and computer usage online, it is essential that you have granted it administrator rights. In this solution, we will be doing that and check whether this solves the issue. Even if it doesn’t, make sure that you keep the option checked for all time.
- Navigate to OBS’s executable properties as we did in the previous solution.
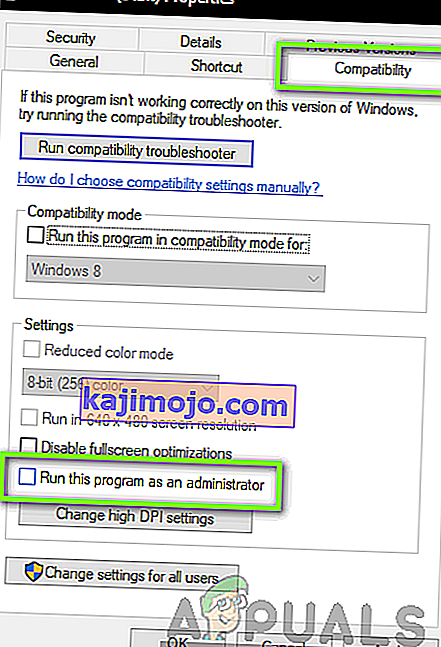
- Now click on the Compatibility tab and check the option of Run this program as an administrator.
- Apply changes and exit. Restart your computer and launch OBS again. Now check if the issue is resolved.
Solution 5: Selecting the Correct GPU for Resources
Another interesting phenomenon we came across was where not selecting the correct GPU according to the capture you are using caused several issues including the black screen. The breakdown on which GPU to select according to the display selected is as follows:
- Game capture: Dedicated graphics (NVIDIA or AMD).
- Monitor/display capture: Intel’s stock GPU
Note: This solution is only for users who have a dedicated graphics card installed on their computer.
Here we will signify the methods on how to cater to both the situations. Make sure that you follow them according to your case.
- Right-click anywhere on your screen and select NVIDIA Control Panel.
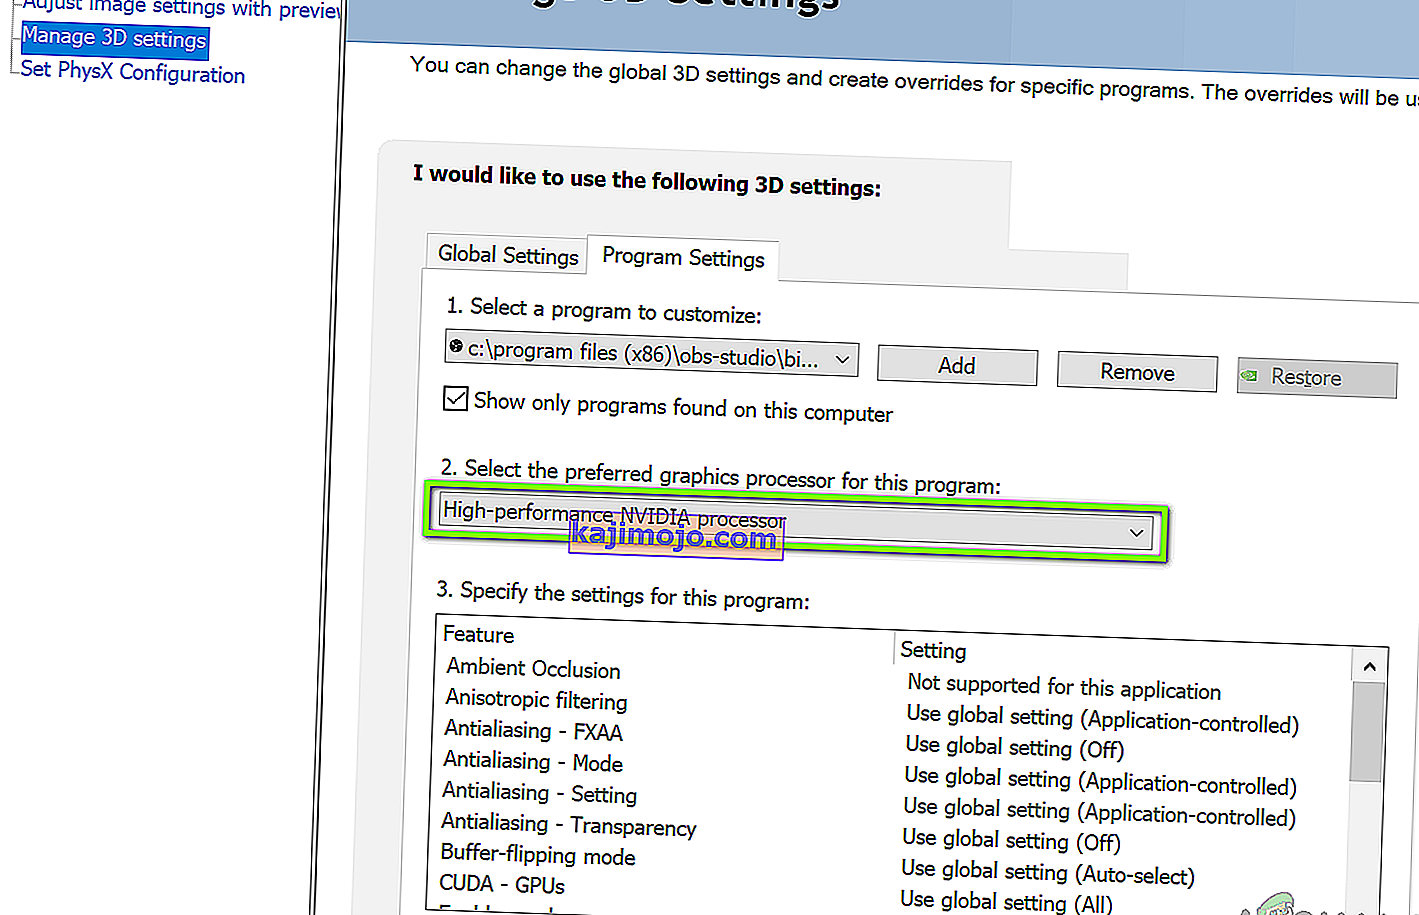
- Once in the control panel, navigate to Manage 3D settings and click on Program Settings.
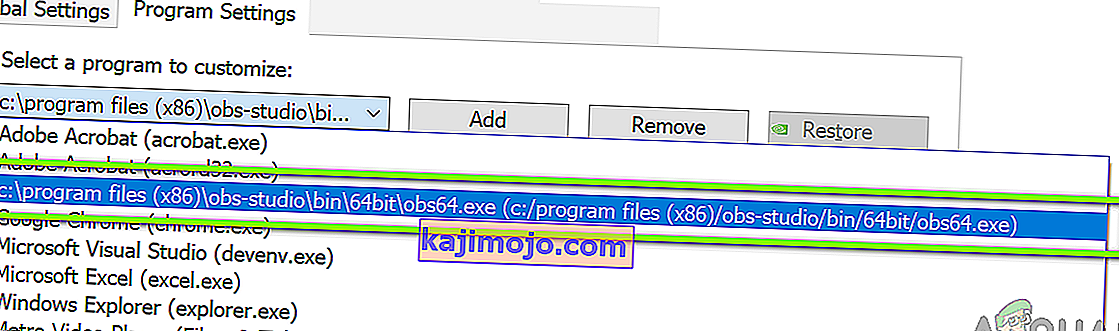
- Once in program settings, select the OBS display capture. If you are not able to find the entry, click on Add and look up the software by navigating to its installation directory and selecting the executable from there.
- Now according to the type of capture you are doing (game or monitor), select the correct graphics processor for the program. In the case down below, NVIDIA’s processor is selected.
- Save changes and exit. Now restart your computer and launch OBS again. Check if the black screen issue is resolved.
Solution 6: Changing Drive Permission Settings
If your OBS is installed in your primary drive (C), there are chances that probably even your user might have not have full permissions to edit and modify its contents. This is the usual case and the reason why a conventional user is not allowed access to the drive is because of security reasons because all the core operating system files are present. However, according to some user reports, changing the ownership settings of the drive solved the issue instantly. Make sure that you are logged in as an administrator before following this solution.
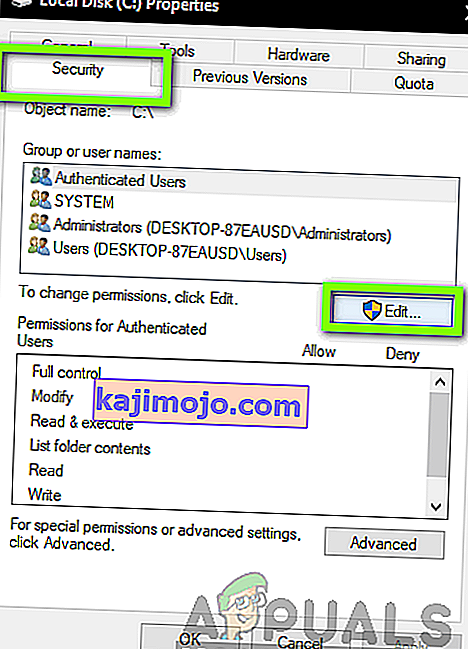
- Press Windows + E to launch the File Explorer. Now right-click on your C drive (or whichever drive is set as your main operating system disk) and select Properties.
- Select the Security tab and then click on Edit in front of permissions.
- Now select the option of Authenticated users and select the checkbox of Full control.
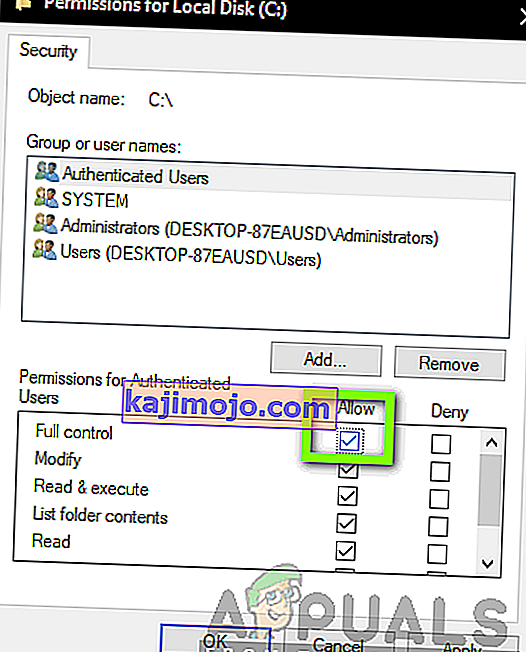
- Press Apply to save changes and exit. Restart your computer and start OBS again. Check if the issue is resolved.
Solution 7: Changing Settings of OBS
Another workaround to consider is changing some specific settings of OBS. Usually, OBS allows users to set the configurations according to their own preferences or will. However, in some cases, the custom settings might conflict with the software and cause the black screen. Here we have listed down some of the changes in settings that you have to do in order for OBS to run in optimal settings.
Mode: *Select according to your preference* Screen: *Select according to your game* Priority: *Usually the default one suffices* Sli/crossfire: Check (You can also try unchecking this one later) Force scaling: Uncheck Transparency: Uncheck Framerate lock: Uncheck Record cursor: Check Anti-cheat: Uncheck Overlays: Uncheck
After you have made changes to the settings of OBS, restart it and check if you can stream your screen/games properly without any issues.
Note: You can also change the mode from “Capture any fullscreen application” to “Capture specific window“.
Solution 8: Enabling Multi-adapter compatibility
OBS has a setting of Multi-adapter compatibility which is meant for computers involving SLI or Crossfire technology. SLI/Crossfire is technologies by NVIDIA/AMD which allows users to connect two graphics cards instead of one and utilize them both in your gameplay or applications. Enabling this feature seemed to have fixed the issue of black screen in OBS instantly.
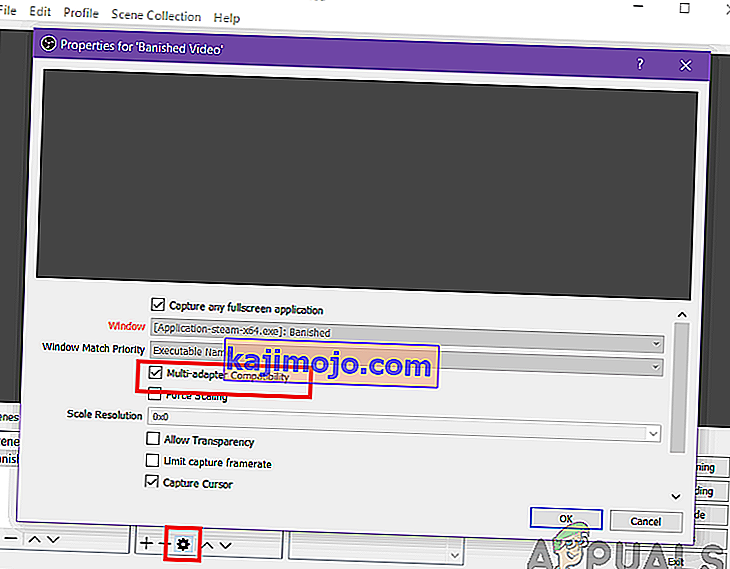
The funny thing is that this fixed the black screen in computers that don’t even have SLI/Crossfire technology installed. To conclude, we can safely say this is a bug in OBS and you have to enable multi-adapter compatibility whether or not you have SLI/Crossfire. You can easily enable this option by selecting the stream and clicking on the gears icon. A new window will pop up from where you can check the option.
Solution 9: Disabling Overclocking
Overclocking allows you to increase the clock rate of your processor until it reaches the threshold temperature set by the manufacturer. Once it reaches the temperature, the clock speed returns back to default so it is cooled down. After it reaches the optimal temperature, its clock speed is increased again and the cycle continues. Overclocking allows users to have better framerates and performance but they aren’t without their share of issues.
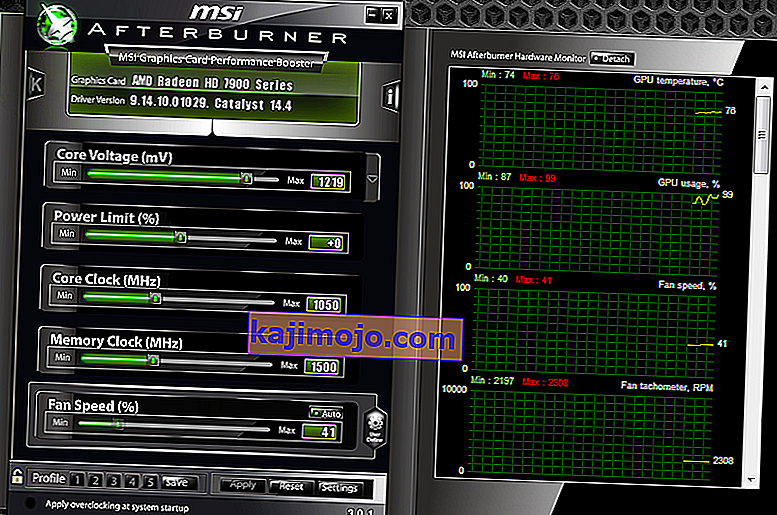
We observed that PCs that had overclocking enabled were having the black screen issue in OBS. You should try disabling overclocking and also overclocking related software such as MSI Afterburner and try launching OBS again. If the black screen issue is resolved, consider disabling overclocking for good whenever you are using OBS.
Note: Also try disabling Overlay from GeForce Experience and Windows game bar features. Take into account any additional software features which may provide additional controls over games or video.
Solution 10: Checking for conflicting software
Another reason why you might be experiencing the black screen on your OBS software is that you have additional software running in the background which is also related to screen capture and video recording. This is a very common scenario for users where they ‘think’ that the other third-party software is not running but in reality, it is in the background. In this solution, we will go through all the different software installed on your computer and uninstall all extra software which might be causing the issue.
- Press Windows + R, type “appwiz.cpl” in the dialogue box and press Enter.
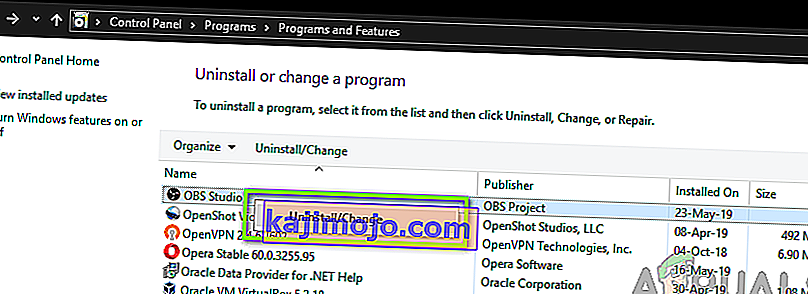
- Once in the application manager, search for any recording software which you might have installed on your computer. Right-click on it and select Uninstall.
- You should also check your taskbar for any extra applications running in the background. Right-click on each entry and exit the application.
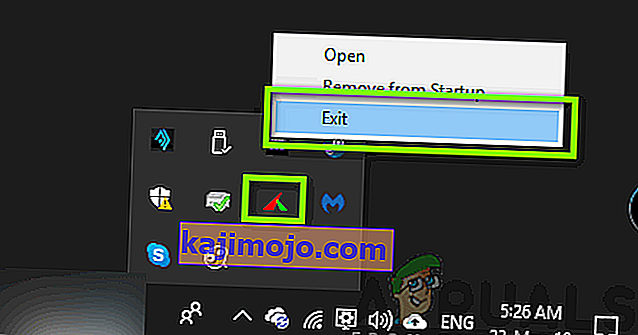
- After you are absolutely sure that no program is running the background, run OBS again and check if the issue is resolved.
Solution 11: Reinstalling the application
If all the above methods don’t work and you are still unable to stream your game/screen successfully using OBS, you should consider reinstalling the application entirely. It is possible that you have a corrupt/outdated copy with issues with several modules. All your preset configurations will be lost during this solution so make sure that you have saved all the work that you need.
- Press Windows + R, type “appwiz.cpl” in the dialogue box and press Enter.
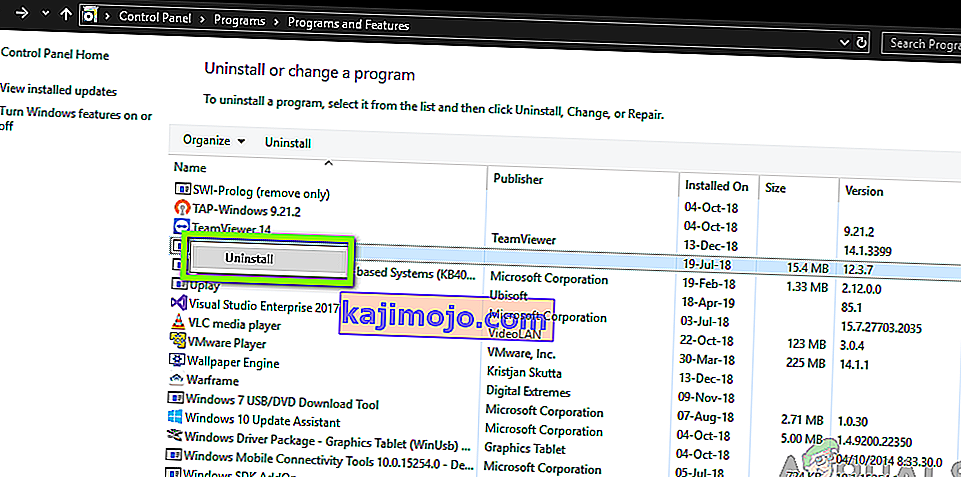
- Once in the application manager, search for OBS, right-click on it and select Uninstall.
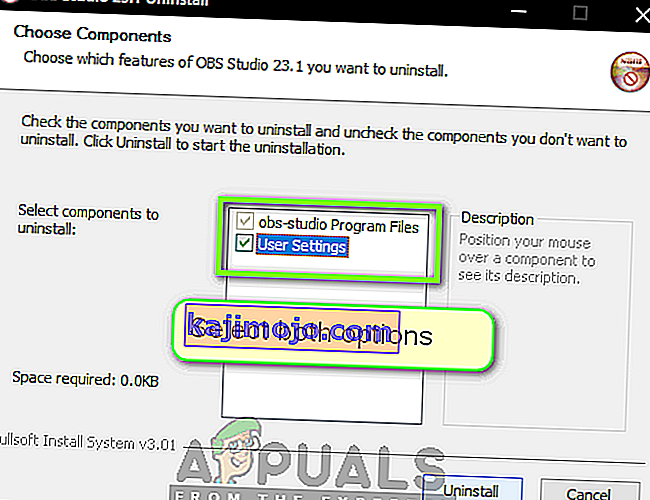
- Select both options (one of them will be preselected) and click on Uninstall.
- Restart your computer. Now navigate to OBS Studio’s official website and download the latest version from there. Install it and check if the issue persists in the fresh copy.