Disk Cleanup is a system maintenance utility that comes pre-installed from Microsoft. It is used to free up space on a system’s hard drive by scanning and analyzing the files that are stored on your system. If the utility finds that the files aren’t being used or aren’t needed anymore, it’ll delete it and you’ll be provided free space. This includes deleting unneeded cache, temporary files or folders etc.
Sometimes, when you run the utility on your system partition, it gets stuck while cleaning Windows Update Cleanup. Waiting it out works out for some users, however, if it is stuck forever, then it becomes an issue as it prevents you from utilizing the utility. Many users have had this issue, and the fix is quite easy but before we get into that, let us look at the potential causes of this issue.

What causes the Disk Cleanup to Stick on Windows Update Cleanup?
From what we’ve brought together, this usually occurs due to the following factors —
- Corrupt or missing system files. Since the Disk Cleanup is a built-in utility, it requires system files to be fully operational. However, if your system files are corrupted or missing, it can cause the issue to pop up.
- Third-party software. Sometimes the issue can also occur due to the third-party software that you have installed on your system.
To resolve this problem, follow the given solutions:
Solution 1: Run Windows Update Troubleshooter
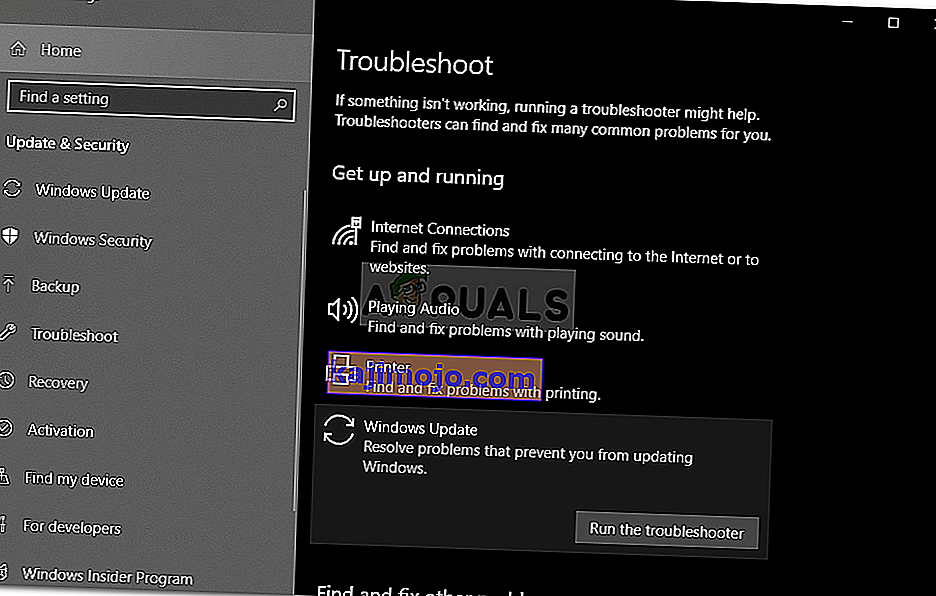
As the Disk Cleanup affixes while performing Windows Update Cleanup, this can be potentially be fixed by the Windows Update Troubleshooter. Troubleshooters occasionally solve your problems and you don’t have to worry about going through a hurdle. Here’s how to run the troubleshooter:
- Press Windows Key + I to open Settings.
- Go to Update and Security.
- Navigate to the Troubleshoot tab.
- Highlight Windows Update and click ‘Run the troubleshooter’.

Solution 2: Deleting SoftwareDistribution Folder
The SoftwareDistribution folder is responsible for storing the Windows update files before they are installed on the system. Sometimes, the contents of this folder get corrupted due to which you aren’t able to run the cleanup. In such a case, you’ll have to delete the contents of this folder. Here’s how:
- Open Windows Explorer and navigate to the following path:
C:\Windows\SoftwareDistribution
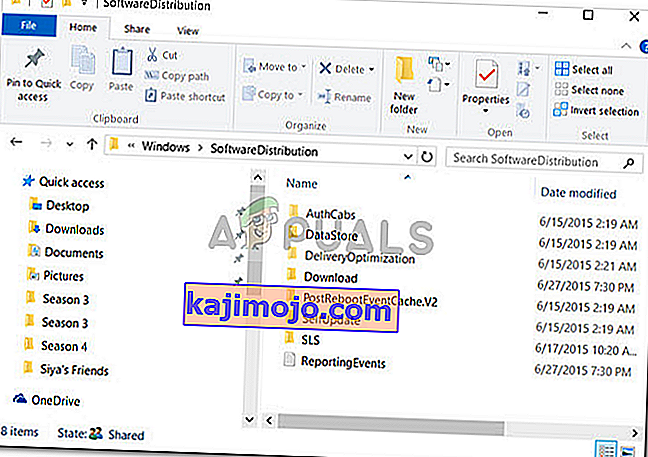
- Delete all the sub-folders present inside the SoftwareDistribution folder.

Solution 3: Delete Windows.old Folder
The Windows.old folder is tasked with storing the older version of Windows when a user runs an upgrade. This is usually helpful when you want to revert to an older version. The contents of this folder can also cause the error to pop up, hence, you’ll have to delete the sub-folders inside it as well. Here’s how:
- Open Windows Explorer and paste the following path in the address bar:
C:\Windows.old
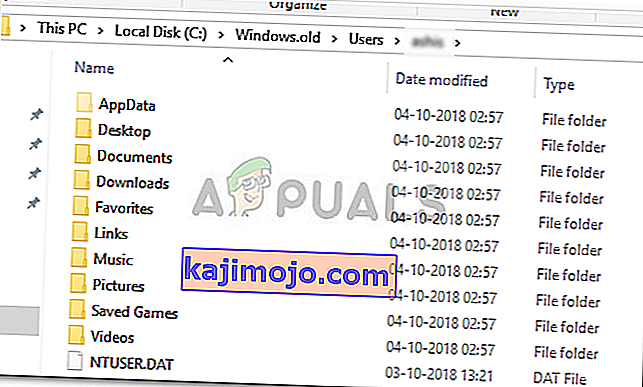
- Delete all the folders.

You can also delete Windows.old folder using the command prompt. Here’s how:
- Press Winkey + X and select Command Prompt (Admin) from the list.

- Type in the following in the command prompt:
takeown /F C:\Windows.old\* /R /A
- This will takedown the ownership of the folder.
- Now type in the following command to allow yourself full permission over the folder (make sure you are using an administrator account).
cacls C:\Windows.old\*.* /T /grant administrators:F
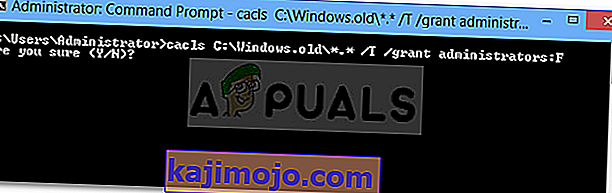
- Finally, to delete the contents of the folder, type


rmdir /S /Q C:\Windows.old\*.*
Solution 4: Run DISM and SFC
The error can sometimes be caused due to corrupted or missing system files. In such an event, you’ll have to utilize the SFC (System File Checker) and DISM (Deployment Image Servicing and Management) utilities. These utilities will search your system for corrupted or missing system files and replace or repair them using a backup.
Please refer to this article to learn how to run SFC and this article for DISM that are already published on our site.
Solution 5: Running Disk Cleanup in Clean Boot
Like we mentioned earlier, sometimes the third-party softwares that you have installed on your system can be causing the error to pop up. In such a case, you’ll have to perform a Clean Boot and then run the utility. Clean Boot means booting up your system with the minimal amount of services/processes required. This will eliminate the possibility of any third-party software causing the problem.
Kindly refer to this article published on our site where you’ll learn how to perform a Clean Boot in quite a detail. Once you’ve performed a Clean Boot, run the utility and see if it solves the problem.